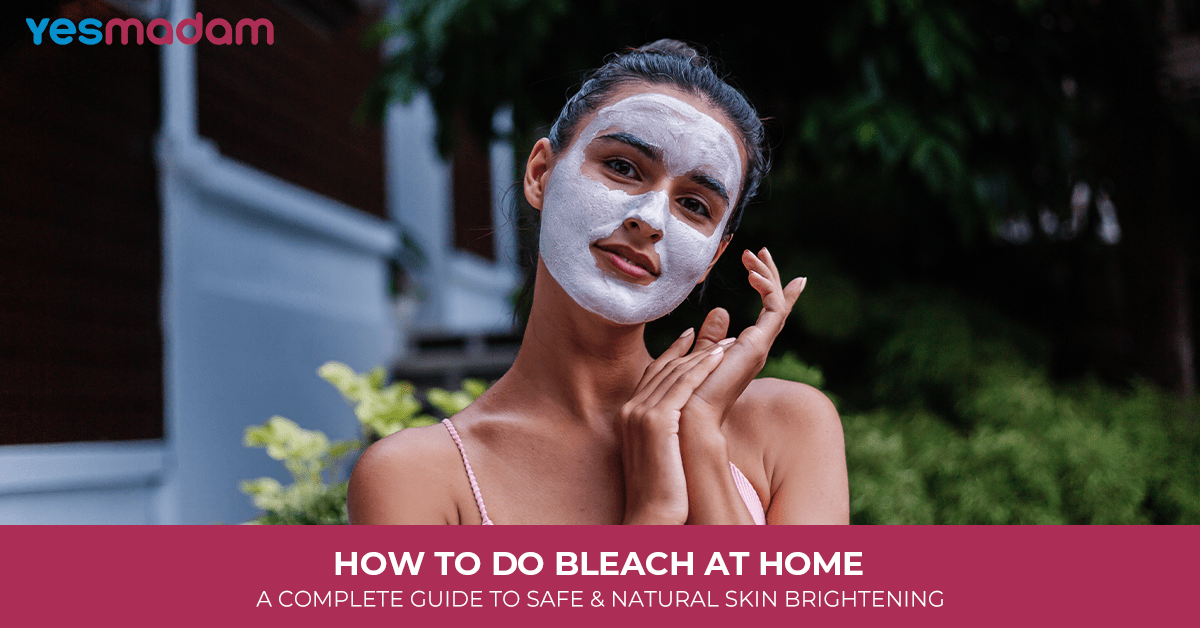
How to Do Bleach at Home: A Complete Guide to Safe and Natural Skin Brightening
If you’ve ever wondered how to do bleach at home, you’re not alone. Many people look for safe, effective, and budget-friendly ways to brighten their skin and reduce tanning without stepping into a salon. While professional treatments can be expensive, bleaching at home offers a practical solution. With the right products—or even natural alternatives—you can achieve a radiant glow in the comfort of your own space.
In this detailed guide, we’ll cover everything you need to know: from face bleach at home, to how to bleach face at home with DIY remedies, and even natural bleach for face at home for those who prefer chemical-free options. We’ll also discuss important do’s and don’ts, precautions, and answer the most common questions about bleach at home.
Table of Contents
Why Do People Bleach Their Skin?

Bleaching has been a part of skincare routines for years, especially in regions with hot climates where tanning is common. The primary reasons people choose bleaching include:
- Reducing suntan: Helps lighten skin that has darkened due to sun exposure.
- Even skin tone: Minimizes patchiness and discoloration.
- Brightening effect: Gives a temporary radiant look before special occasions.
- Hair lightening: Fine facial hair blends into the skin, creating a smoother appearance.
Things to Know Before You Try Bleach at Home
Before diving into the face bleach at home process, here are some important points to keep in mind:
- Patch test is essential: Always test the product on a small area of your arm before applying it to your face.
- Choose the right bleach: Pick a formula suitable for your skin type (sensitive, oily, dry).
- Follow instructions: Overuse or incorrect mixing can lead to irritation or burns.
- Frequency: Bleach should only be used once every 3–4 weeks.
- Post-care: Moisturize and use sunscreen afterward to protect your skin.
Step-by-Step Guide: How to Bleach Face at Home

Bleaching doesn’t have to be intimidating. Here’s a clear, step-by-step routine for beginners:
Step 1: Cleanse Your Skin
Wash your face with a gentle cleanser to remove dirt, oil, and makeup. Pat dry with a soft towel.
Step 2: Prepare the Mixture
Most bleach kits come with a cream and an activator. Mix them as directed on the packaging.
Step 3: Apply Evenly
Using a spatula or brush, apply the mixture evenly on your face, avoiding sensitive areas like the eyes, eyebrows, and lips.
Step 4: Wait Patiently
Leave the bleach on for 10–15 minutes, depending on your skin’s sensitivity and the instructions given.
Step 5: Wipe & Rinse
Gently wipe off the bleach with a damp cloth or cotton pad. Wash your face with cool water.
Step 6: Moisturize
Apply a soothing moisturizer or aloe vera gel to calm the skin.
Natural Bleach for Face at Home: DIY Recepies
For those who prefer avoiding chemicals, there are many effective natural skin bleaching home remedies. These are gentler, cost-effective, and often double as nourishing treatments.
1. Lemon and Honey
Lemon acts as a natural bleaching agent, while honey moisturizes. Apply the mixture for 15 minutes and rinse.
2. Yogurt and Turmeric
This classic remedy brightens skin while reducing inflammation. Mix a spoon of yogurt with a pinch of turmeric and leave it on for 20 minutes.
3. Papaya Pulp
Rich in enzymes, papaya helps lighten pigmentation naturally. Apply mashed papaya for 15 minutes before washing off.
4. Potato Juice
Potato contains natural bleaching properties that fade dark spots. Dab fresh juice on your skin and rinse after 10 minutes.
5. Aloe Vera and Rose Water
A soothing blend that hydrates and subtly brightens dull skin. Perfect for sensitive skin types.
More Information For You: Body Wash vs Soap
Pros and Cons of Bleaching at Home
Like any skincare method, bleach at home comes with its own set of advantages and drawbacks.
Pros
- Convenient and affordable.
- Quick results in 15–20 minutes.
- Reduces visible facial hair.
- Brightens skin instantly.
Cons
- Results are temporary.
- Overuse can cause sensitivity.
- Chemical bleaches may irritate delicate skin.
- Natural methods take longer to show results.
Safety Tips While Doing Face Bleach at Home
- Never bleach right after waxing or threading—wait at least 24–48 hours.
- Don’t step into the sun immediately after bleaching.
- Avoid using harsh scrubs or chemical-based skincare on the same day.
- Always use sunscreen to prevent tanning post-bleach.
Bleach at Home vs. Salon Bleach
While salons provide professional application and guidance, home bleaching is cost-effective and more accessible.
- Salon Bleach: Personalized care, but expensive.
- Home Bleach: Affordable, but requires careful attention to instructions.
- Natural Remedies: Safe and nourishing, but require consistency.
Conclusion
Now that you know exactly how to do bleach at home, you can confidently choose between store-bought kits and natural bleach for face at home remedies. Whether you’re preparing for an event or just want to maintain a healthy glow, bleaching—when done correctly—can give you the results you’re looking for.
The key lies in choosing the right method, following proper steps, and ensuring aftercare. Remember, glowing skin doesn’t come from bleaching alone—it’s a combination of good skincare, hydration, and protection from sun damage.
So the next time you think of brightening your face, you won’t have to wonder how to bleach face at home—you’ll already know exactly what to do.
FAQs
1. Is it safe to do face bleach at home?
Yes, it’s safe if you follow the instructions carefully and choose a product suitable for your skin type. Always perform a patch test first to avoid allergic reactions.
2. How often should I bleach my face?
You should not bleach more than once every 3–4 weeks. Over-bleaching can make your skin sensitive and prone to irritation.
3. Can natural bleach for face at home give instant results?
Natural remedies usually take time and regular application to show results. Unlike chemical bleaches, they are gradual but much safer for long-term use.
4. What should I apply after bleaching?
After bleaching, apply a soothing moisturizer or aloe vera gel. This helps reduce any redness or irritation and locks in hydration.
5. Can I bleach my face after sun exposure?
It’s best to avoid bleaching right after heavy sun exposure, as your skin may already be sensitive. Wait at least a day or two before applying bleach.
6. What’s the difference between bleaching and skin whitening?
Bleaching lightens facial hair and skin tone temporarily, while skin whitening usually refers to long-term treatments aimed at reducing pigmentation.
7. Are there any side effects of bleach at home?
Possible side effects include redness, itching, or mild burning if not used properly. Choosing the right product and following precautions helps minimize risks.
8. Can I use bleach if I have acne?
It’s not recommended to bleach on active acne, as it may worsen irritation. Wait until your breakouts have subsided before trying bleach.
9. Which natural ingredient works best for bleaching skin?
Lemon is one of the most effective natural bleaching agents, but it should always be used with a soothing ingredient like honey to prevent dryness.
10. Does bleaching make skin permanently fair?
No, bleaching only offers temporary lightening. To maintain a healthy glow, combine it with a good skincare routine, sun protection, and natural remedies.